When we ride our bicycles, there are several mechanical factors that help indicate to us just how effectively we are moving the machine. These include our cadence, which is how fast we pedal the bike; torque, which is an indication of how hard we push on the pedals; and, ultimately, power and efficiency illustrate how much and how effectively that energy is going into the rear wheel.
While it’s easy to picture these different elements of our drivetrain, many of us don’t realize that our respiratory systems offer a similar type of feedback.
Our respiratory systems have their own form of cadence, known as breathing frequency. Our ventilation is a rate that indicates how many liters of oxygen we move per minute. There is also tidal volume, which is ventilation divided by frequency—think of this like the efficiency of our breathing system.
On the bike, cadence, torque, power, and the efficiency of our working muscles can all be limiters to our performance. And, if you’re like most cyclists, you’re always thinking about how to improve those limiters. But many of us forget that the respiratory system, which is being used all the time, might also be a limiter.
Fortunately, breathing is also something we can train and improve.
What happens when respiration is untrained?
The respiratory system is made up of a series of muscles. These muscles can be strengthened and, just as importantly, their endurance can be improved. In working with athletes, I make it my goal to improve their respiration system to the point that it is stronger than their sport of choice requires it to be. This effectively turns a limiter into an advantage.
While training our muscles to be stronger requires time in different training zones, training our breathing is a little more complicated. For one thing, respiration can be a limiter both at the lower-intensity endurance level and at top-end intensity.
At the endurance level, for example, many people over-breathe—they breathe too fast and not deep enough. At the top end, it is often the opposite—they breathe rapidly, but not deep enough to maximize the amount of oxygen they are taking in.
Fortunately, breathing can be trained at different intensities; however, just as with cadence or efficiency on the bike, it takes dedicated work.
For example, when you first began riding, did you notice that while doing high cadence work you couldn’t generate the same power? That’s because you had not developed an efficient pedal stroke yet. But, if you did dedicated neuromuscular work and improved the coordination of your muscles at higher cadences, it became smoother and likely you found the power at those high RPMs.
Improving respiration takes the same dedicated work. But before I can explain that, let’s take a closer look at the elements of respiration that you’re trying to improve.
The elements of respiration
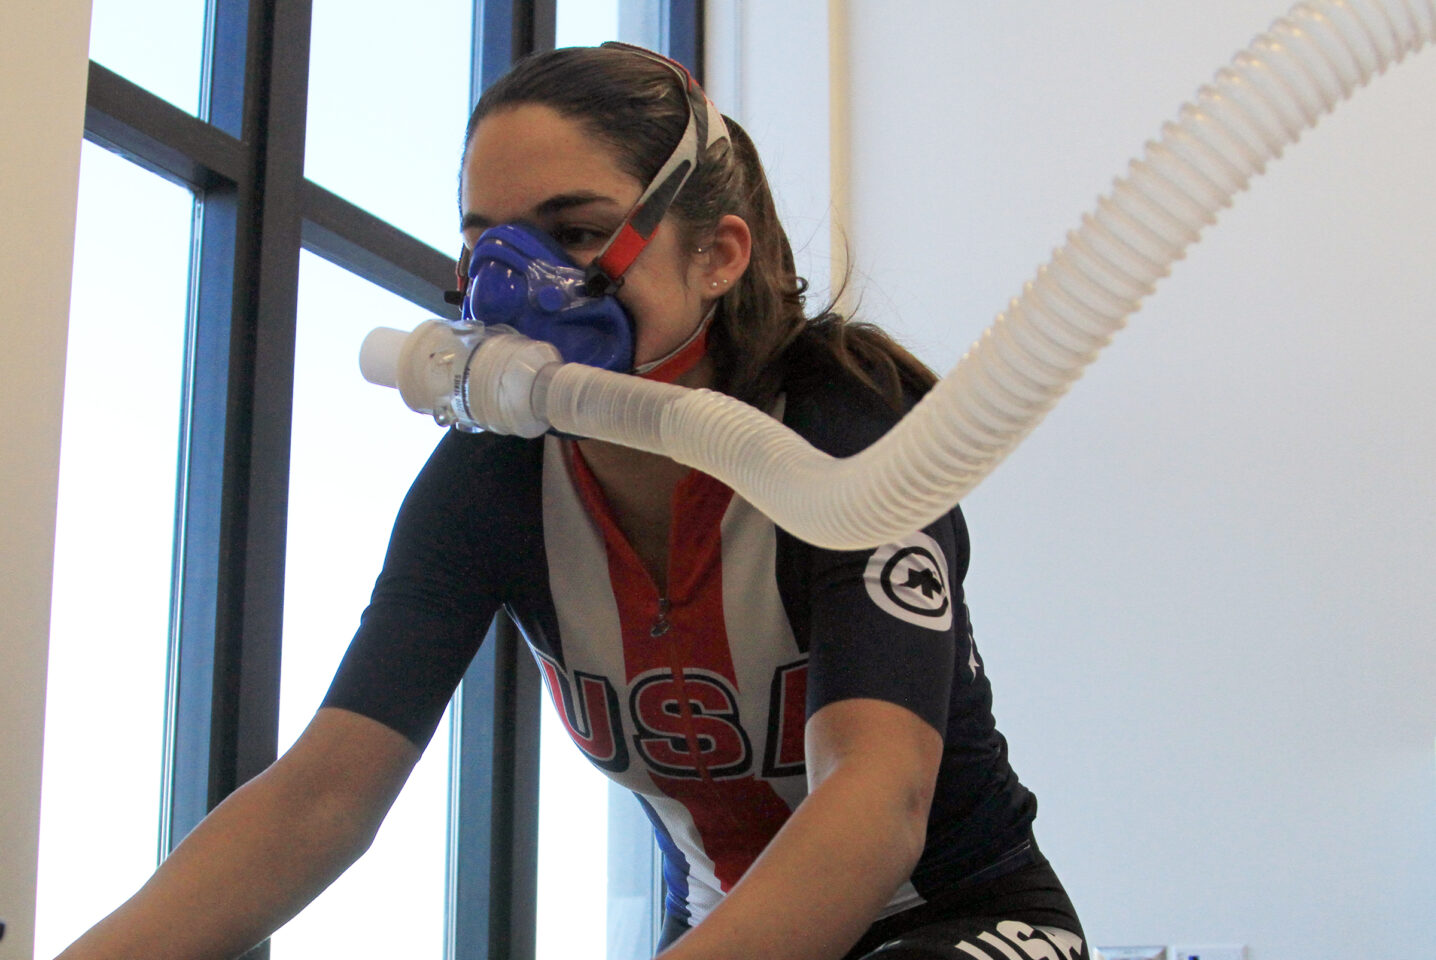
To explain the elements involved in respiration, we’ll use data from a typical VO2max test. In this article, we will focus on the different respiratory information we get from the machine.
In the figures below, the red line shows the athlete’s heart rate as the test became increasingly more difficult. The other lines represent the different elements of respiration.
In Figure 1 (below), the yellow line represents breathing frequency per minute (BF), or how rapidly the athlete was taking breaths.
In Figure 2, the pink line indicates ventilation in liters per minute (VE), or how much oxygen the athlete was taking in.
If we combine the two figures above, we get tidal volume, which is the amount of oxygen (in milliliters per breath) the athlete is taking in(shown in blue, below).
Figure 4 (below) depicts what happens when we overlap tidal volume and breathing frequency. What’s surprising is that as the athlete increased their breathing rate, they lost tidal volume. In other words, even though they were breathing more rapidly in an effort to get more oxygen, they were actually decreasing the amount of oxygen that was available to them. And, importantly, they were doing that when they needed it most.
When working with athletes who haven’t done a lot of breathing work, my objective is to improve their tidal volume such that it continues to increase until the end of the test.
Training respiration
In Figure 4, we see that this athlete hit 4.4 liters at his peak tidal volume. So we can deduce that this is the maximum volume that he’s capable of achieving.
If we look at the volume when he is at 80 percent of his max heart rate (just before the 10-minute mark), it was around 3.5 liters, or 79 percent of peak tidal volume. This is quite good, but it’s possible to see 85 percent of peak tidal volume across all intensity levels. In an athlete who has trained their respiration, I like to see them breathing their tidal volume at all intensities. In the case of this athlete, that would be around 4.4 liters.
That said, it’s not as simple as it sounds. Tidal volume can be achieved with different combinations of ventilation and breathing frequency, and what is appropriate depends on which intensity the athlete is riding at—endurance, tempo, threshold, or VO2max intensity.
For example, if I was looking to improve the breathing of the athlete above in the endurance/tempo zones, I would want to decrease their breathing rate up to VT2 but increase the depth of each breath.
Anatomical respiration dead space
There is one other element of respiration that can act as a limiter: It’s called anatomical dead space. It is a simple but often overlooked piece of the puzzle. Anatomical dead space represents the volume of ventilated air that does not participate in gas exchange; while an athlete might take it in, they don’t use it. This can amount to between 130-180 milliliters, depending on the size and posture of the athlete.
This is a fixed amount of unused air, which the muscles must still move in and out of the body. We want to make our breathing as efficient as possible so as to allow the body to have more energy where it matters most. So, if we can learn to breathe deeper and slower, we will use less energy to bring more air into the lungs to be utilized for forward motion.
For example, if we take two athletes who both weigh 180 pounds, with dead space of approximately 150 milliliters, what happens if the two athletes have different respiration rates?
Athlete A: 20 breaths x 150 ml of anatomical dead space = 3000 ml of dead-space air moved.
Athlete B: 30 breaths x 150 ml of anatomical dead space = 4500 ml of dead-space air moved.
If both athletes also have the same tidal volume, Athlete B would move 50 percent more dead space air. There is a lot of energy being used to move this dead space air that is not being used in gas exchange.
Keep in mind that the respiratory system is composed of a bunch of powerful muscles that require energy to function. So that’s a lot of wasted energy that would be better served going into the legs or elsewhere.
Train your breathing
For little or no cost, you can start improving your respiratory system. Here are a few simple tips to begin addressing a possible respiration limiter.
Outside of training: Use a metronome app to reduce your respiration rate. This will automatically help you to breathe deeper.
In training: Work on reducing your respiration rate in endurance training until it can be accomplished with little stress. Your heart rate will drop when you are successful. This happens because oxygen is being delivered more efficiently via the respiratory system, which allows your heart to beat slower. Again, don’t push to the point that you are starved for air; this is what is meant by “no stress.” Aim to reduce the rate gently over time.
Below are some ranges for breathing frequency by training zone:
Zone 1: 18-22 for endurance work
Zone 2: 22-28 for steady endurance work
Zone 3: 28-32 for tempo work
Zone 4: 32-40 for threshold work
Zone 5: 40-60 for VO2 or maximal aerobic power work
Start by trying to breathe within these parameters during a few easy workouts (Zone 1 and 2 endurance effort). This will help you gauge where your current breathing is in these low-intensity zones. Next, try to move the respiration rate closer and closer to the bottom of the zone while remaining stress-free.
Once you sense improvement during endurance training, try the same approach during tempo workouts and so forth.